Guide with all the necessary steps for you to change the components of the Samsung Galaxy Tab Active Pro (SM-T540) yourself.


To start we must unhook the back cover, for this we will use a flat-tipped tool.


We disconnect and remove the battery to work with greater security.


We apply heat to the screen to soften the adhesive that holds it, we will open a small hole with a fine tool, through which we will introduce one or more plastic spikes, with which it will be much less likely to damage the screen.


We remove the plastic cover that covers the connectors of the screen and the home button with fingerprint reader, which we must disconnect.


We remove the twenty-eight Phillips screws (PH # 00) that hold the chassis, and using a tool thin enough we will unhook it.


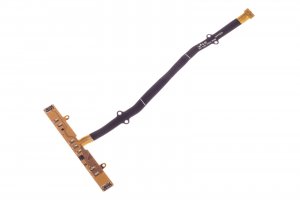
We disconnect the buttons, take them off and remove them.


We take off the contact area, disconnect the flex from the motherboard, and we can remove it.


