Guide with all the necessary steps for you to change the volume keys of the Apple iPad Air 2 (A1566) yourself.


Before you start, make sure the iPad is turned off.


To access the interior of the iPad, we must take off the screen. It has a strip of double-sided adhesive on the entire frame. We will apply heat to soften the adhesive and peel off easily.
We recommend the Hot Glass, a blanket filled with a gel of high thermal retention, suitable for microwaves.
Simply insert the Hot Glass in the microwave for a couple of minutes (see instructions) and apply heat directly to the screen.


If you have the special thermal tablecloth for tablets, just put the iPad on it, with the screen facing down and adjust the thermostat between 50 and 60 º C.


Hold the screen with the suction cup.
Place thicker tines in the wedge-shaped areas.


Separate the screen by pulling the suction cup leaving the lower part (where the home button is) by the data flexes.
Handle gently so as not to damage the data flexes.


Remove the metal shield covering the connectors, secured by 3 Phillips screws.


Disconnect the data flexes from the motherboard and separate the screen.


Remove the upper metal shield, held by 4 Phillips screws.


Unplug the rear camera from the motherboard and remove it by pushing it out with the opening tool.


Remove the 5 Phillips screws that we pointed out in the photos.


Remove the small metal shield that covers the connector.
Unplug the connector from the motherboard.


Peel off the bottom of the flex from the back shell.


Separate the plastic support to which the push buttons are attached.


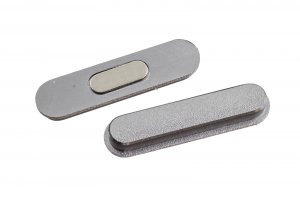
Finally, remove the volume keys.


