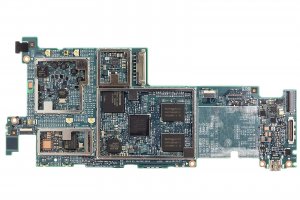
Guide with all the necessary steps so that you can change the Acer Iconia A1 motherboard yourself.


Before starting make sure that the tablet is turned off.
Use the pick to open the back cover, releasing the hooks on the sides.


Remove the back cover.


Remove the rear camera by pressing the tab on the connector and gently pulling on it.


Disconnect the battery from the motherboard by pushing the connector with the opening tool.


The battery detaches easily in these models, simply pull the plastic strip enabled for it.


Disconnect the interconnect flex between the board and the audio and USB connectors.


Take off the speaker and disconnect it from the motherboard.
Remove the interconnection flex cable.


Disconnect the flex from the digitizer by operating the connector and gently pulling on the cable.
Peel off the flex cable from the motherboard.


Remove the adhesive that holds the flex cable from the display.


Unplug the flex from the motherboard by pressing the tab on the connector and gently pulling on it.


Remove the adhesive covering the display connector and remove the flex cable that connects it to the motherboard.


Remove the adhesives that cover the antenna coaxial cables.


Disconnect the coaxial cables from the antennas.


Remove the 5 Phillips screws that hold the motherboard, including the one that is covered by the warranty sticker.
Remove the metal support from the mini hdmi connector.
Separate the base plate from the tablet chassis.


Remove the front camera from the motherboard to install it in the new one.


