Guide with all the necessary steps for you to change the components of the Xiaomi Mi 9 Lite (M1904F3BG) yourself.


To start, we will apply heat to the back shell, and with the help of one or more plastic spikes we will peel off all the edges of the shell.


We remove the eleven Phillips screws (PH # 00) that hold the intermediate casing, and with the help of a flat tool we will unhook it.


We disconnect the battery to work with greater security.


We peel off the adhesive that covers the connector, and we can now disconnect and remove the front camera.


We disconnect the interconnection flex, the proximity sensor flex, remove the card tray, and disconnect the coaxial cable, and with the help of a flat tool we can now lift the motherboard.


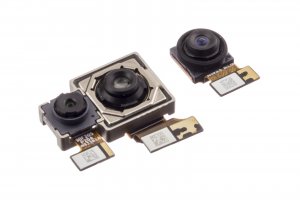
To finish we just have to disconnect the damaged rear cameras from the motherboard.


