Guide with all the necessary steps so that you can change the rear camera of the Sony Xperia E5 (F3311) yourself.


With the help of a fine opening tool we are unhooking the back shell. We have used a metallic tool, but it would also be worth a plastic as a spike for example.


We disconnected the battery, and pulled the stickers that are on the battery. You have to pull the stickers carefully as there is a possibility that the sticker will break.


Remove the 3 Torx screws (T4) and remove the upper case, remove the copper protector that is on top of the front camera and disconnect the camera to be able to remove it.


We disconnect the flex from the base plate, the three flexes that are under the flex of the battery, and the coaxial cable, and proceed to remove the base plate with the help of a plastic opening tool.


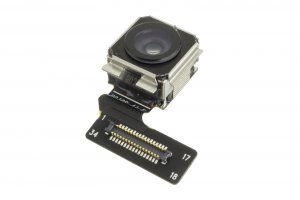
We disconnected the rear camera that we are going to replace.


