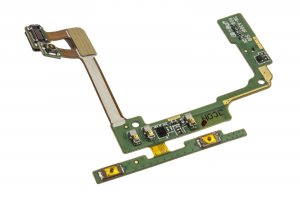
Guide with all the necessary steps for you to change the plate with antenna, volume buttons and microphone of the Samsung Galaxy A3 (SM-A300FU).
Characteristics:
In this step we will need to heat the glass to soften the glue and thus be able to remove the screen more easily.
Below we will see two ways to perform this step.
We will use a high thermal retention blanket (HOT GLASS) to heat the glass.
Insert the HOT GLASS in the microwave for the time specified in the instructions.
The gun emits VERY hot air, use with caution.
We recommend the use at minimum power and short bursts, since excess heat can damage the equipment.
Warm the screen to soften the glue and be able to easily peel it off.
With the hot screen, we will introduce a plectrum between the frame and the glass to unstick them. We will use a suction cup to separate the screen from the frame a bit and introduce the spike more easily.
Special attention must be paid when removing the lower part of the phone so as not to damage the flex lights of the buttons. When taking off this part, we will avoid laterally moving the barb, especially in the areas of the buttons.
In this step we will disconnect the flex from the screen of the motherboard and later, with great care, we will take off the flex lights of the front buttons.
The screen is also pasted by the center, we will introduce a longer tool to take it off. We will do this step very carefully so as not to damage the insulation of the screen.
To separate the chassis from the back cover, first remove the SIM and SD trays. For this we will use the tray opening tool that the phone should bring. Inserting the tip through the hole and pressing, the tray will be ejected.
We will also remove the home key to avoid losing it.