Guide with all the necessary steps so that you can change the LG L Bello display (D331, D335) yourself.


Before starting, make sure that the mobile is turned off.


Remove the back cover with the plastic opening tool, this will avoid scratching the equipment.


Remove the battery by pulling on the bottom.


Remove the SIM and SD cards.


Remove the 11 Phillips screws that hold the middle housing.


Separate the intermediate housing by prying it gently with the opening tool all around. You will hear several "clicks" as they are released.


Unplug and remove the front camera.


Unplug and remove the rear camera.


Unplug the lower flexes of the screen on the motherboard.


Separate the base plate, prying gently with the opening tool.


Peel off the data flexes from the bottom of the chassis.


The touch screen is attached to the chassis by a thin strip of double-sided adhesive, located around the contour.
We will heat the glass to soften the adhesive and peel off easily.
We will use a high thermal retention blanket (HOT GLASS) to heat the glass.
Insert the HOT GLASS in the microwave for the time specified in the instructions and apply directly to the screen for a couple of minutes.


Insert the tip of the tine behind the glass and go around the contour to release the adhesive.
Avoid the bottom part so as not to damage the data flex.


Separate the lower part last by passing the data flex so as not to damage it.


Remove the remains of the adhesive both on the touch screen and on the outline of the chassis.


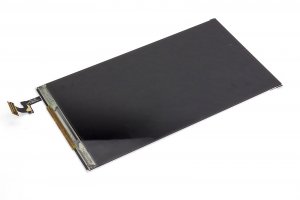
Finally, separate the LCD display with the help of the tine.

