Guide with all the necessary steps for you to change the components of the Huawei Mate 10 Pro (BLA-L29) yourself.


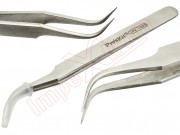
To begin we must apply heat to the back cover, and with the help of a flat tool we will remove all the edges of the casing


We extract the Phillips screw (PH # 00) that holds the shield that covers the connector and we can disconnect it.


We extract the five Phillips screws (PH # 00) that hold the intermediate housing, and with the help of a flat tool we will unhook it.


We extract the seven Phillips screws (PH # 00) that hold the intermediate housing, and with the help of a flat tool we will remove it.


We disconnect both ends of the interconnection flex and unhook the load connector.


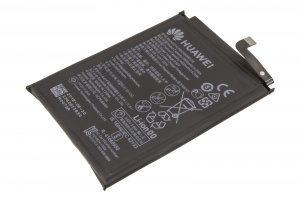
Take off the battery that we are going to replace with the help of a flat tool.