Guide with all the necessary steps so that you can change the components of the OnePlus Nord N100 (BE2013) yourself.


First of all, we must apply heat to the back cover to soften the adhesive that holds the case, and with the help of one or more plastic spikes we will take off all the edges of the case.


We extract the five Phillips screws (PH # 00) that hold the trim, and with the help of a flat-tipped tool we will lift it.


We remove the twelve Phillips screws (PH # 00) that hold the intermediate casing, but before starting to unhook it we must extract the card tray, and then with the help of one or more prongs we will unhook all the edges of the casing.


We disconnect the battery to work with greater safety.


We peel off the adhesive that is above the front camera, and with the help of a flat tool we will disconnect and remove it.


We disconnect and remove the fingerprint reader.


We disconnected and removed all the rear cameras.


We disconnect the components that remain connected to the motherboard, and with the help of a flat tool we can lift and remove it.


We peel off the adhesive that covers the pushbutton with the help of tweezers, then with a metal spatula we will take off the area of the contacts, and to detach the area of the pushbutton we will use a thin metal pick.


To detach the volume buttons, we will follow the same steps that we have done in the previous step to detach the power button.


We take off the headset with the help of a fine metal pick.


We peel off the battery and the adhesive that wrapped it.


We extract the two Phillips screws (PH # 00) that hold the speaker, and with the help of a plastic tool we will unhook it.


We disconnect and remove both the interconnection flex and the two coaxial cables.


We remove the auxiliary plate with the help of a flat-tipped tool.


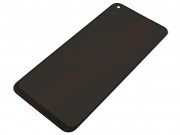
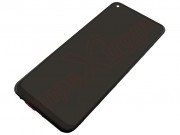
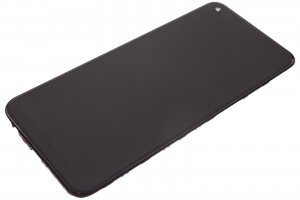
And to finish we only have to take off the vibrator from the screen that we have to replace.