


Before you start, make sure your mobile is turned off.


Remove the SIM and SD cards next to their trays.


Remove the back cover, unclipping it all the way around. Use the tool type pizza cutter to separate it comfortably and without damaging the casing.


Remove the 9 Phillips screws.


Separate the inner casing by prying it gently.


Disconnect the battery from the motherboard.
Remove it by pulling the transparent plastic on the bottom.


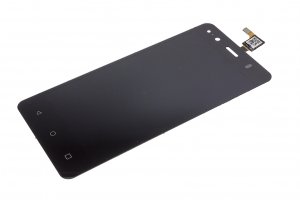
Disconnect the flex from the LCD display on the motherboard and remove it from the chassis.
Disconnect the flex from the touch screen.


The screen is attached to the chassis by a strip of adhesive that runs all the way around. To detach it we will apply heat to soften the adhesive and to peel off easily.
In this guide we use a thermal mat, which we will adjust between 80 and 100 ºC. Warm the surface of the screen at this temperature for about 40 seconds.
Insert the prong between the glass and the plastic frame, making sure that it penetrates behind the LCD in addition to the glass. Scroll the contour, taking off the adhesive.


Peel off the bottom without damaging the data flex, passing it through the corresponding slot.


Finally, separate the upper part, passing the flex of the touch screen through the slot.


